This information applies to both Premium SIM cards and older, Standard SIMs
First, charge your hotspot
Use the Micro USB charging cable and wall block that comes with your hotspot device, and charge it up to at least 30%. If your device has a low battery, it may not work properly.
Turn your hotspot on
Once the device has an adequate charge, press and hold the power button until it comes on.
Configure APN settings
Now it's time to configure APN network settings on your device. This will allow your hotspot to recognize the data connection provided by your FreedomPop plan. We have a video that can help you with these steps. Watch the video, or scroll down to read the instructions.
Connect to your Netgear Unite’s WiFi network using the WiFi password “freedompop”. Not sure how to do this? Click here.

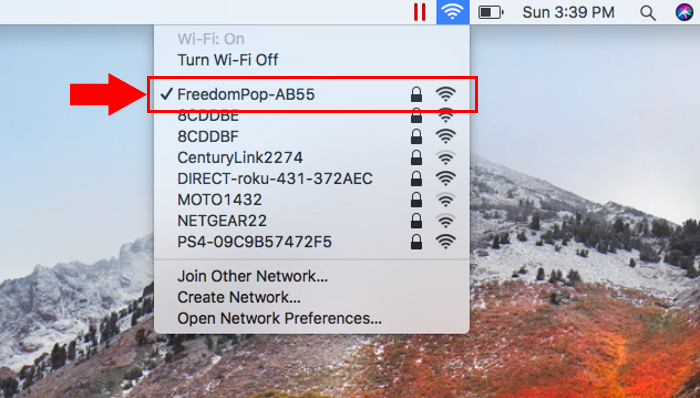
If you’re having trouble with the WiFi password, you can check the screen of your Netgear Unite device.
On the computer, tablet or phone that you have connected to your Netgear Hotspot, open a web browser and visit http:\\attunite. Any web browser will work; Internet Explorer, Google Chrome, FireFox, Safari, etc.

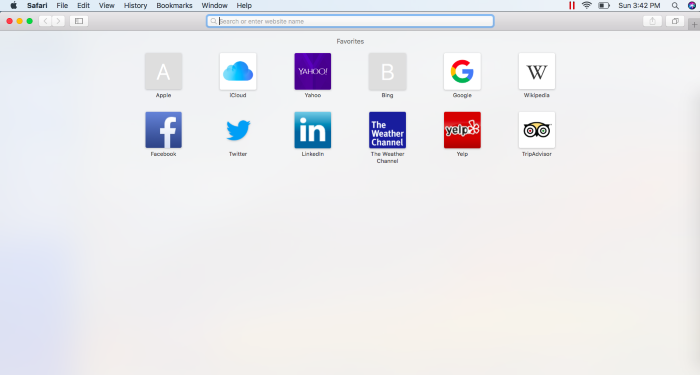
In the website bar, type in http://attunite. Do not add “www.” or “.com”.
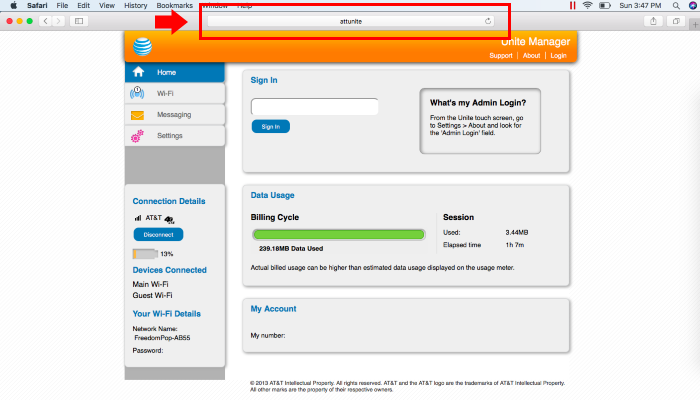
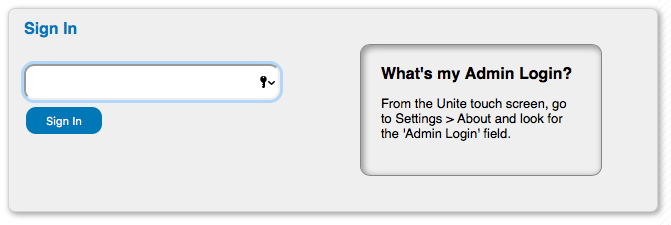
Sign in using the password attadmin.
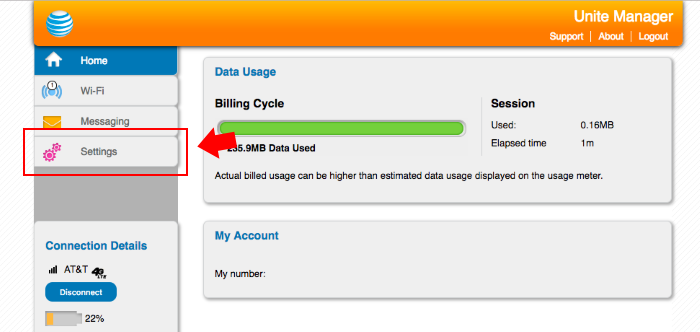
From the options on the left side of the screen, click Settings.

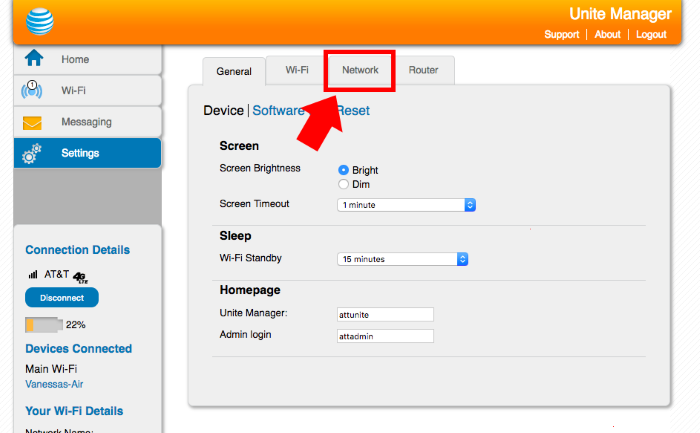
Click on Network.

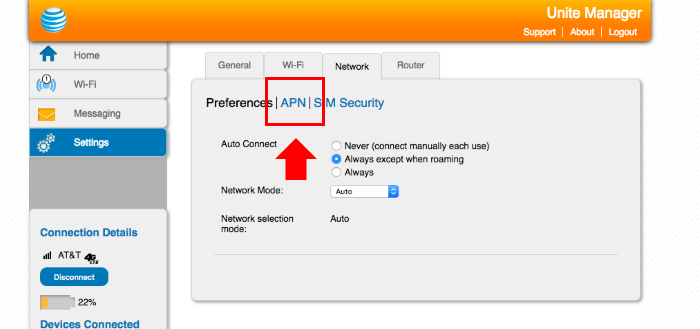
Click on APN.

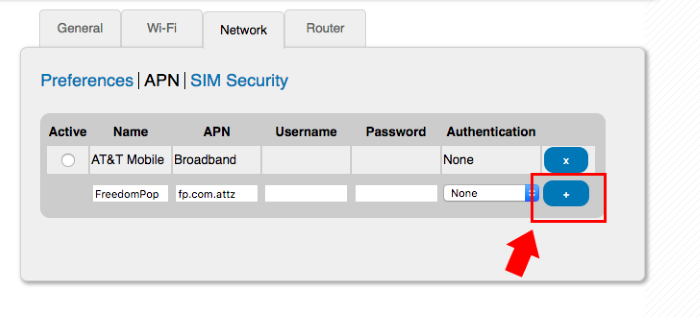
You will see three empty boxes. If you have a Premium SIM, enter "FreedomPop" in the first box and "ERESELLER" in the second box. Leave the rest blank and click on the plus sign to submit your new APN.
If you have one of the older, Standard VoIP SIM cards, enter "FreedomPop" in the first box, and enter "fp.com.attz" in the second box. Leave the rest blank and click the plus sign to submit the new APN.

You have now successfully added the new APN settings for your hotspot. Now you can go to different websites, using your Netgear Unite hotspot.